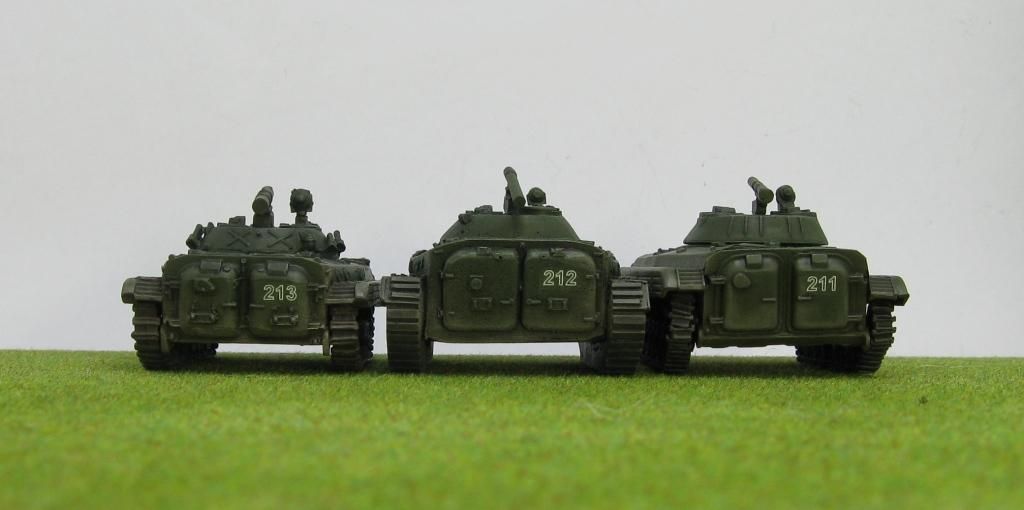
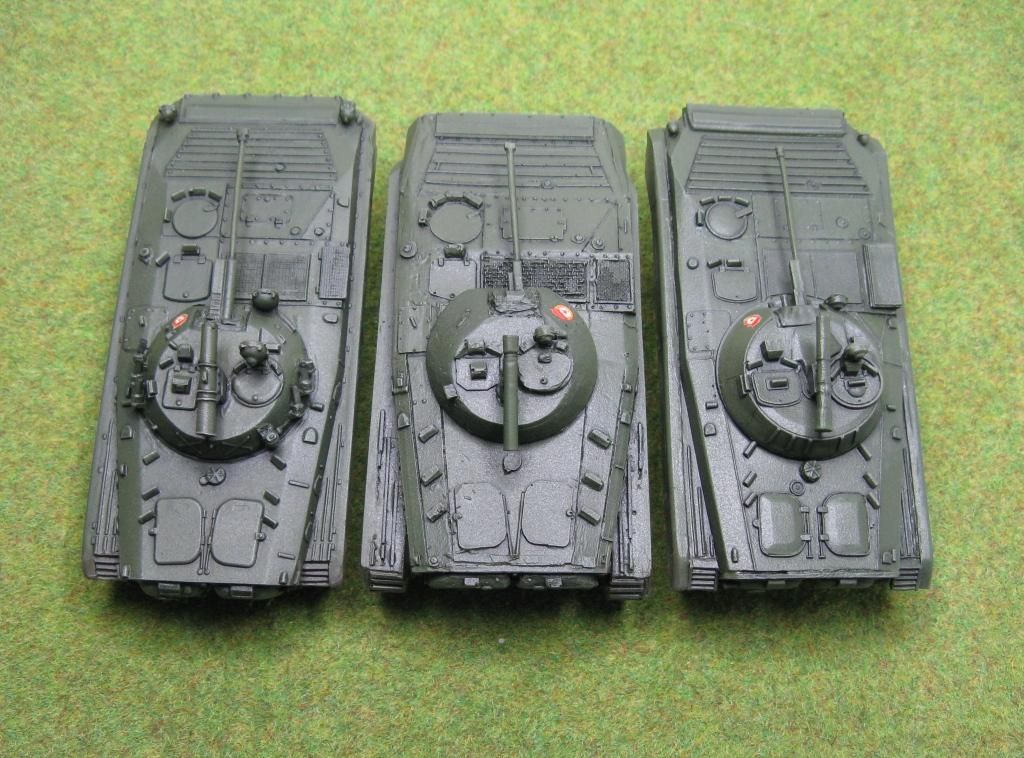
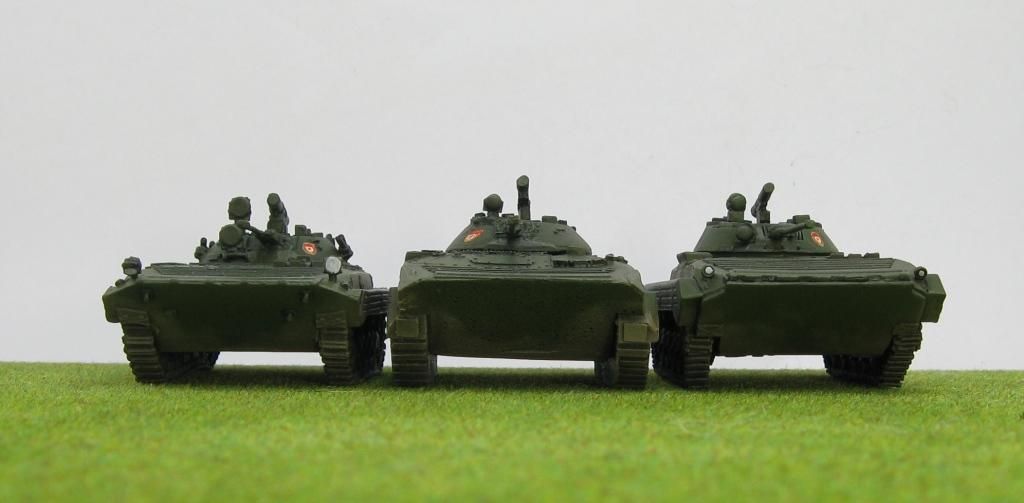
Well, here we are, back on the Cold War wagon again. This time my Soviet reinforcements consist of 3 BMP-2s each of different make.
It's easiest to jump straight into the pictures - so just bear in mind as you look at them that they are arranged for easy comparison from left to right - MMS - S&S - ACE Models
As you can see - a fairly basic and simple paintjob - but the look I was going for. These chaps will play a vital role in a small game I am currently planing.
Next up - some Soviet Artillery or perhaps something (Cold War related) that is a little different.
Thanks and have fun
Richard
Tampilkan postingan dengan label S and S. Tampilkan semua postingan
Rabu, 13 Maret 2013
Kamis, 03 Januari 2013
Carve yourself a BMP-2
OK - slightly exaggerated title, but as you will see in this post there is an element of truth in it.
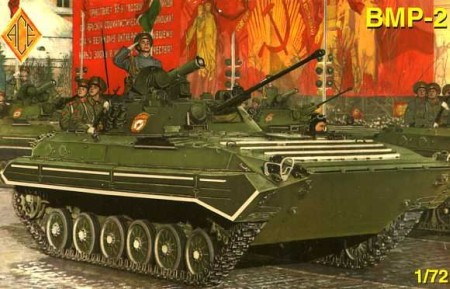
Recently I built an ACE Models BMP-2 that came in a box looking like this:
which is one of the earlier production models of the ACE BMP-2. During the build I took a few photos - so it's not really a Work-In-Progress or tutorial - just a history of how it went together along with a growing pile of off-cuts.
Before I jump into this I have to make a statement up-front. I have to say that despite ACE kits kind of doing my head in - I actually really like them. I guess its a love-hate relationship. Sure - they can be a bit of a headache to build - but I think they end up looking lovely and in my opinion - possibly the best examples you can get (along with a great range - even in most of them are out of production). So - moving on...
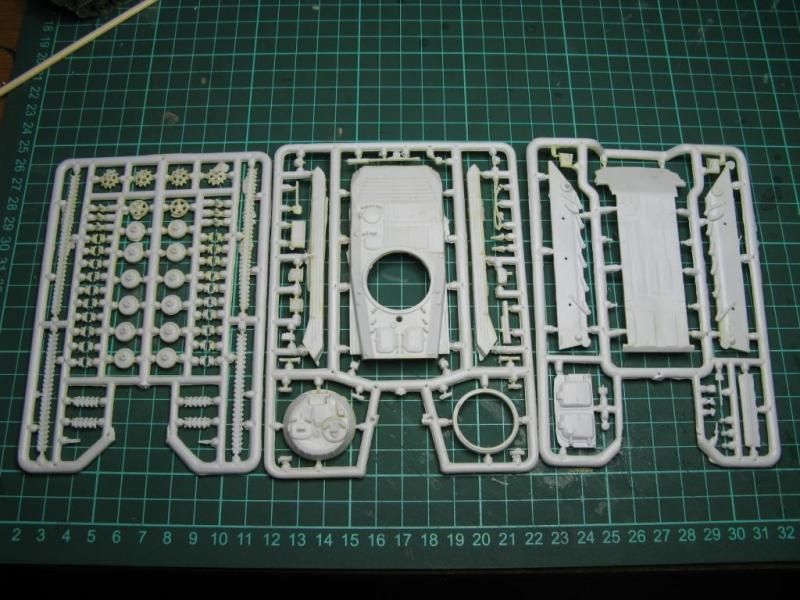
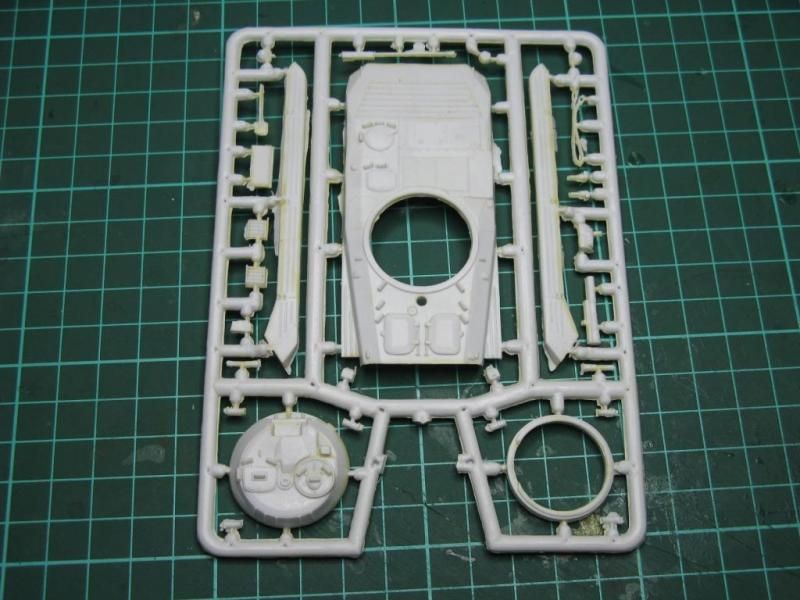
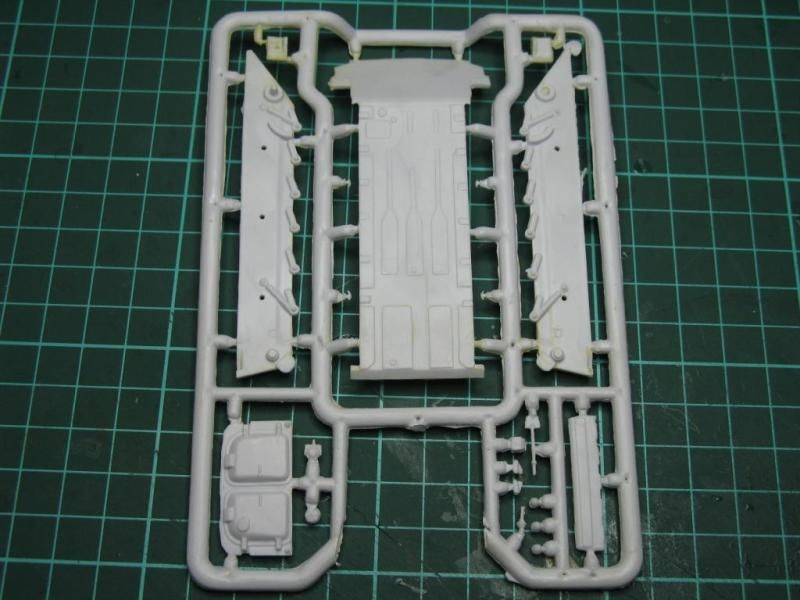
First up - the sprues. Here is all three of them:
Followed by some close up's of each individual sprue:
They probably don't look that bad from that distance!
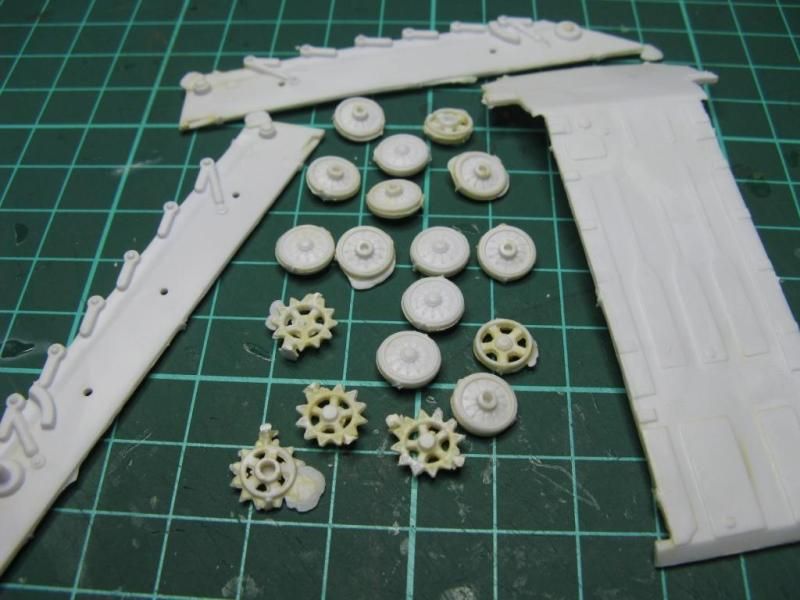
This is a close-up of the wheels, and three chassis peices cut from the sprues. You start to get an idea of what you need to do.
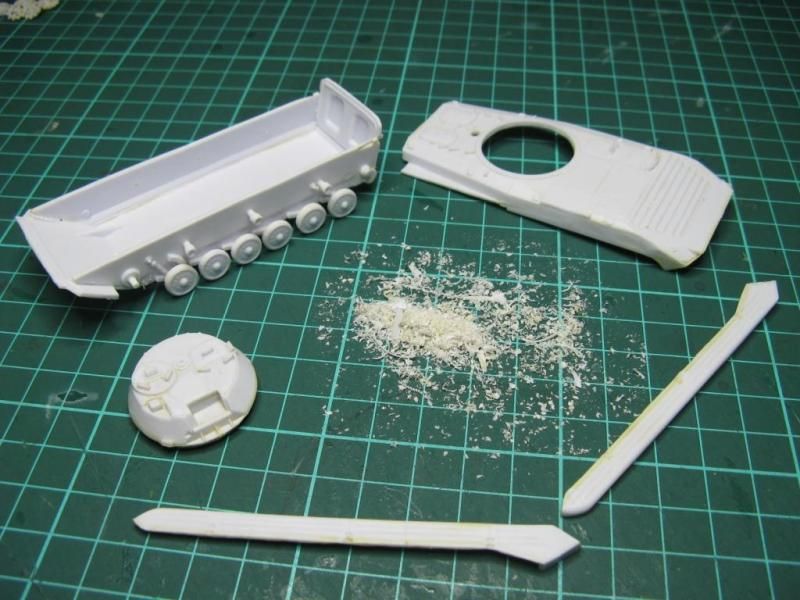
Once those peices were cleaned up this is the pile of off-cuts (for lack of a better word) I was left with:
The pile starts to grow and you get an idea of the cleaning required on the hull sides (sponsons?)
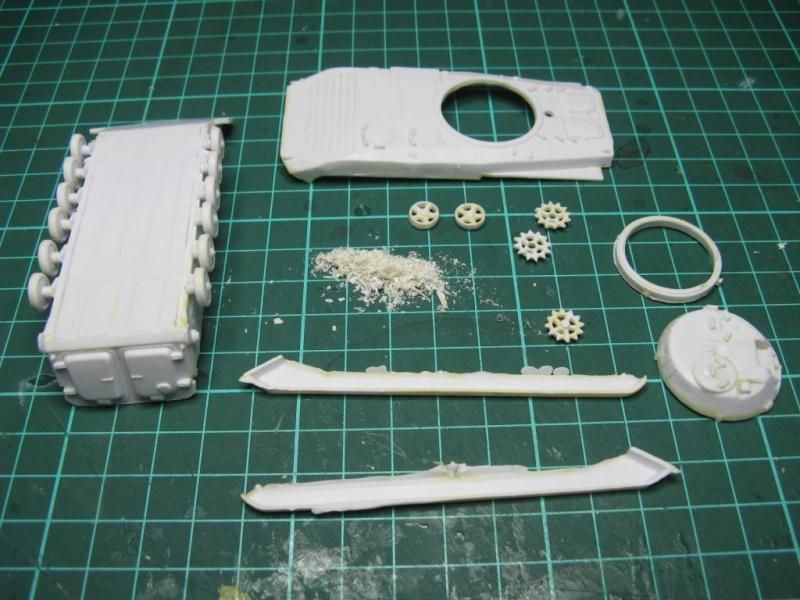
Hull (top and bottom), sides and turret all cleaned up - pile detris pile:
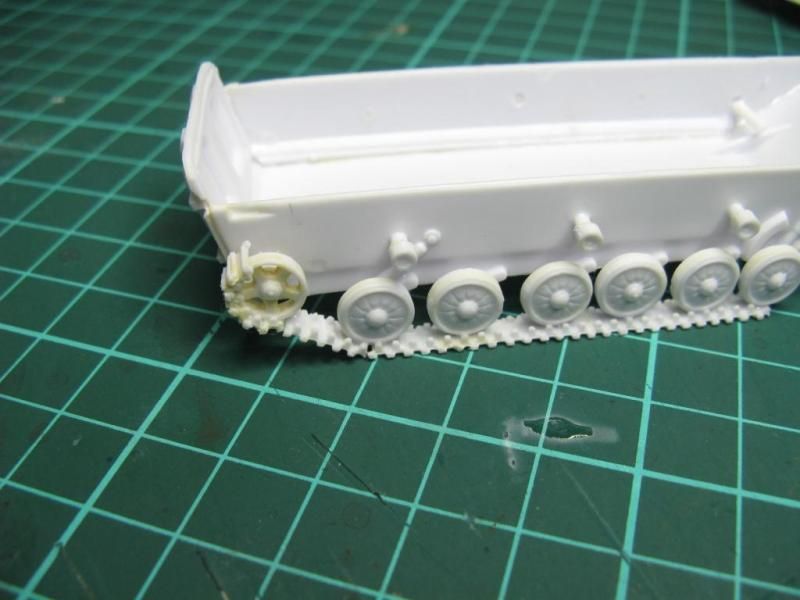
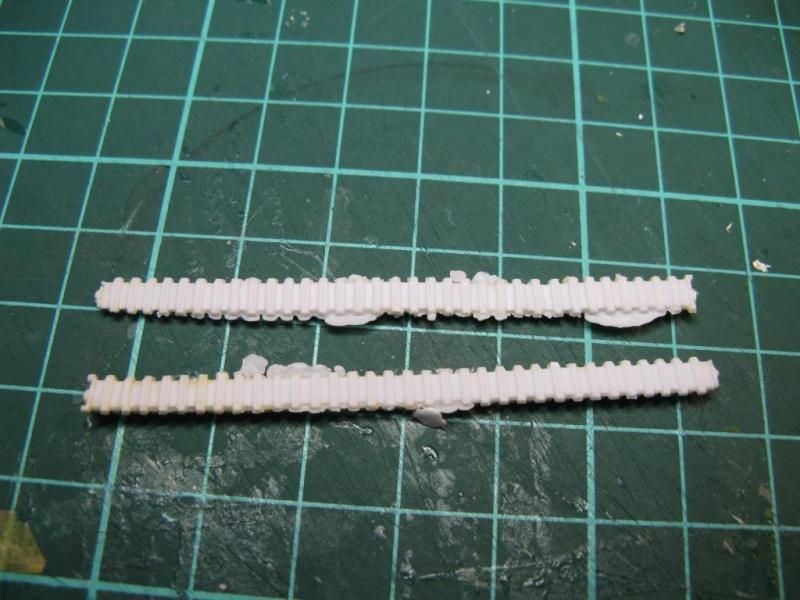
Starting to assemble the tracks:
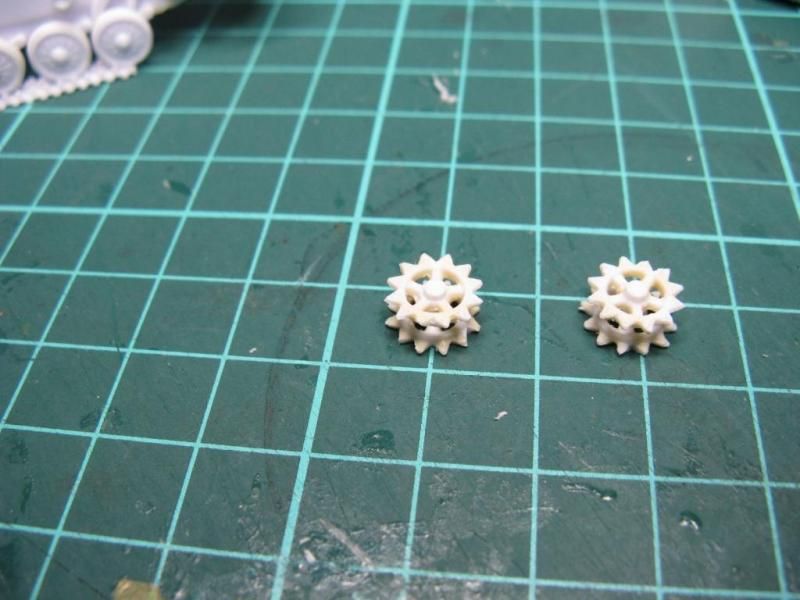
Power train wheels - a reall pain as there are no guides to match them up - so I do it by eye - sometimes it works...
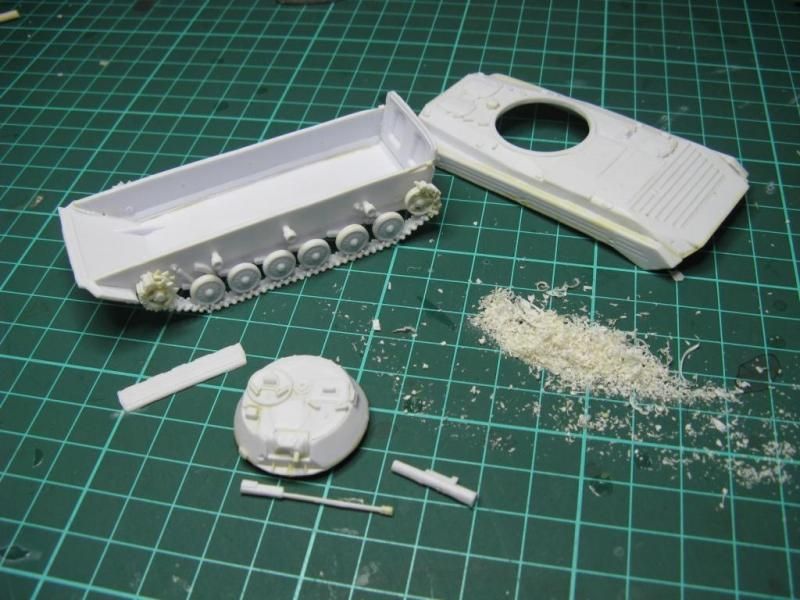
The detris pile continues to grow as the kits starts to come together:
I was hoping to get away without having to put on the top tracks - from this photo you will see why:
Once I decided that I couldn't get away with it I thought I might get away with just cleaning the side you'd actually see. Once I cleaned that and fitted it I realised I'd cleaned the wrong side so had to clean them both anyway!
Here is the final picture of the completed BMP-2 with the final detris/off-cuts pile:
100% honestly that pile came from just this 1 kit. Pretty impressive in my opinion... but the kit looks pretty good.
Just out of interest - here is a comparison photo between the S&S Models BMP-2 and the completed ACE Models BMP-2.
So that's it for now.
Thanks
Richard
Recently I built an ACE Models BMP-2 that came in a box looking like this:
which is one of the earlier production models of the ACE BMP-2. During the build I took a few photos - so it's not really a Work-In-Progress or tutorial - just a history of how it went together along with a growing pile of off-cuts.
Before I jump into this I have to make a statement up-front. I have to say that despite ACE kits kind of doing my head in - I actually really like them. I guess its a love-hate relationship. Sure - they can be a bit of a headache to build - but I think they end up looking lovely and in my opinion - possibly the best examples you can get (along with a great range - even in most of them are out of production). So - moving on...
First up - the sprues. Here is all three of them:
Followed by some close up's of each individual sprue:
They probably don't look that bad from that distance!
This is a close-up of the wheels, and three chassis peices cut from the sprues. You start to get an idea of what you need to do.
Once those peices were cleaned up this is the pile of off-cuts (for lack of a better word) I was left with:
The pile starts to grow and you get an idea of the cleaning required on the hull sides (sponsons?)
Hull (top and bottom), sides and turret all cleaned up - pile detris pile:
Starting to assemble the tracks:
Power train wheels - a reall pain as there are no guides to match them up - so I do it by eye - sometimes it works...
The detris pile continues to grow as the kits starts to come together:
I was hoping to get away without having to put on the top tracks - from this photo you will see why:
Once I decided that I couldn't get away with it I thought I might get away with just cleaning the side you'd actually see. Once I cleaned that and fitted it I realised I'd cleaned the wrong side so had to clean them both anyway!
Here is the final picture of the completed BMP-2 with the final detris/off-cuts pile:
100% honestly that pile came from just this 1 kit. Pretty impressive in my opinion... but the kit looks pretty good.
Just out of interest - here is a comparison photo between the S&S Models BMP-2 and the completed ACE Models BMP-2.
So that's it for now.
Thanks
Richard
Kamis, 29 November 2012
S&S Models
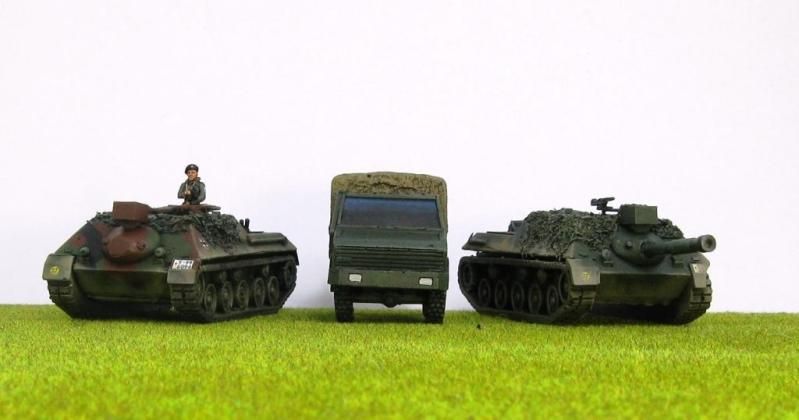
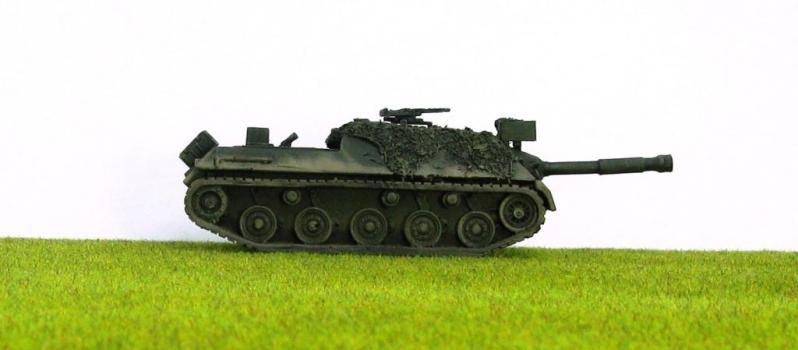
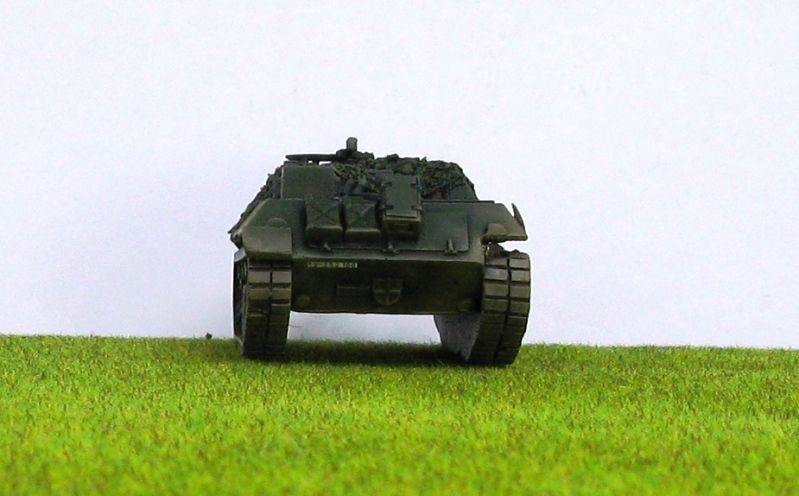
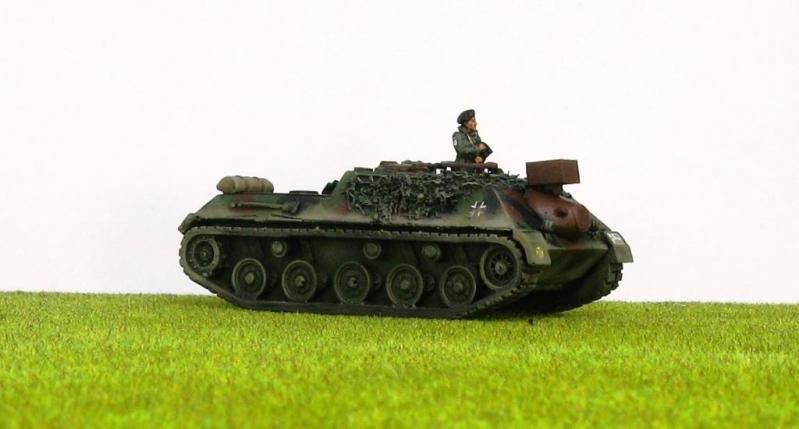
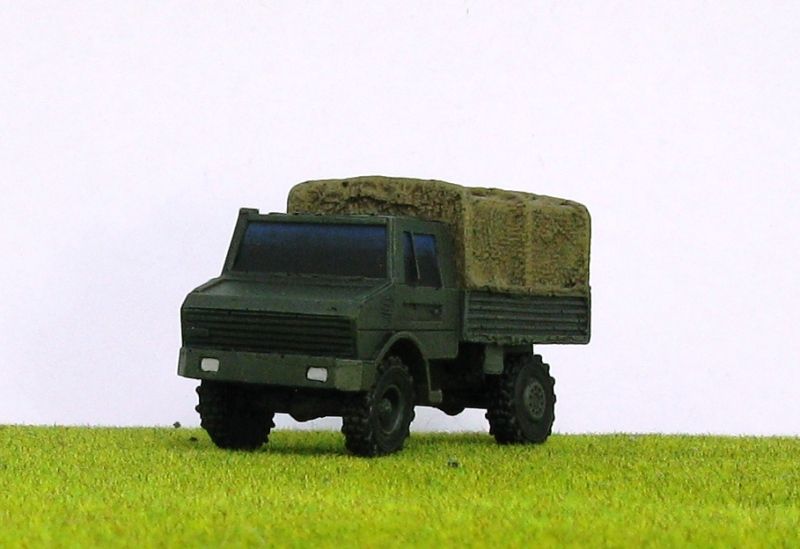
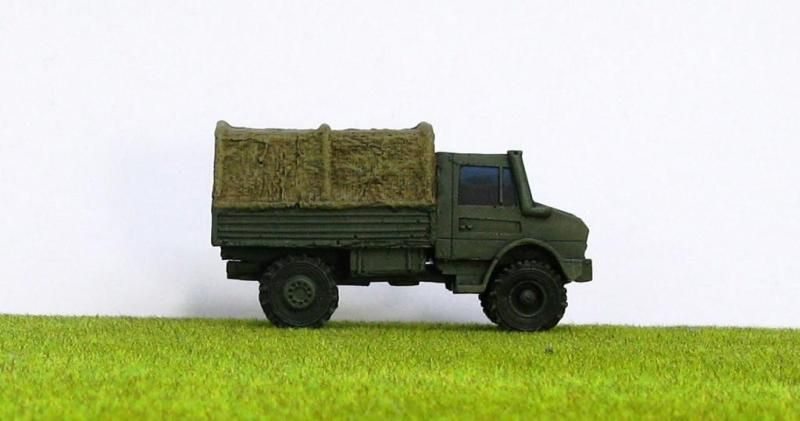
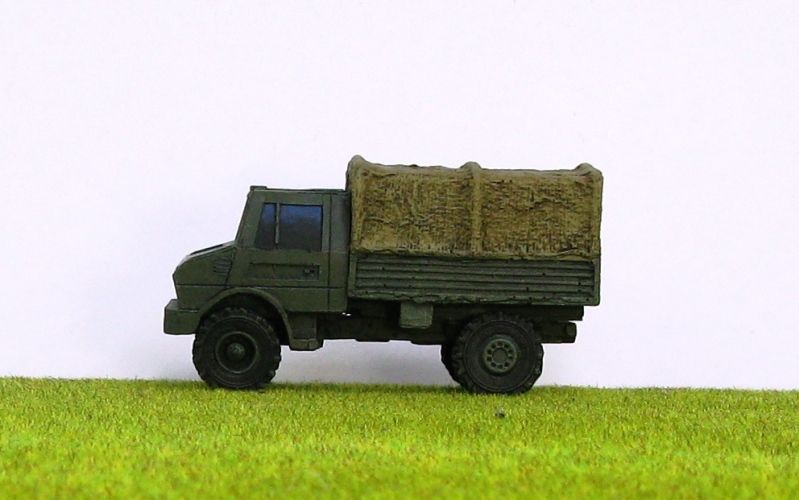
Well about 24 hrs before the last day of Task 5 of The Guild's 2012 Group Build and I managed to finish and photograph my lastest three S & S Models West German Cold War vehicles. A couple of these - the Jagdpanzer Kanone and the Beobachtungspanzer (the ride for my West German Forward Observer) have been shown here as a W-I-P on a couple of occasions (so thank goodness I finished them!) while the Unimog is new here.
Here is a group shot:
And now some shots of the three vehicles:
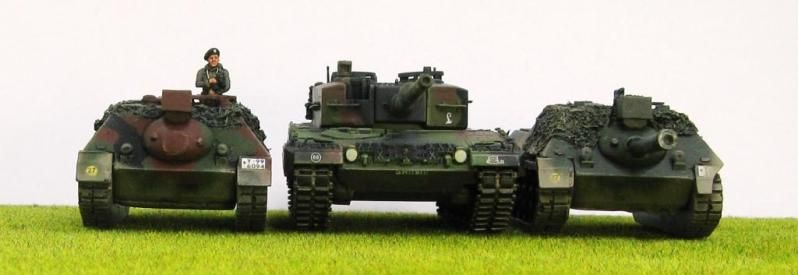
And finally - just to satisfy my own curiousity - a comparison shot with a Dragon Leopard 2A4
That's all for November - a big month for this blog!
Take care
Richard
Here is a group shot:
And now some shots of the three vehicles:
And finally - just to satisfy my own curiousity - a comparison shot with a Dragon Leopard 2A4
That's all for November - a big month for this blog!
Take care
Richard
Kamis, 22 November 2012
S&S Jagdpanzer Kanone & Beobachtungspanzer W-I-P Part 2
Well I finally got some time to get back to moving on these two AFVs along again - as I'm trying to finish them in time for The Guild Task 5 deadline.
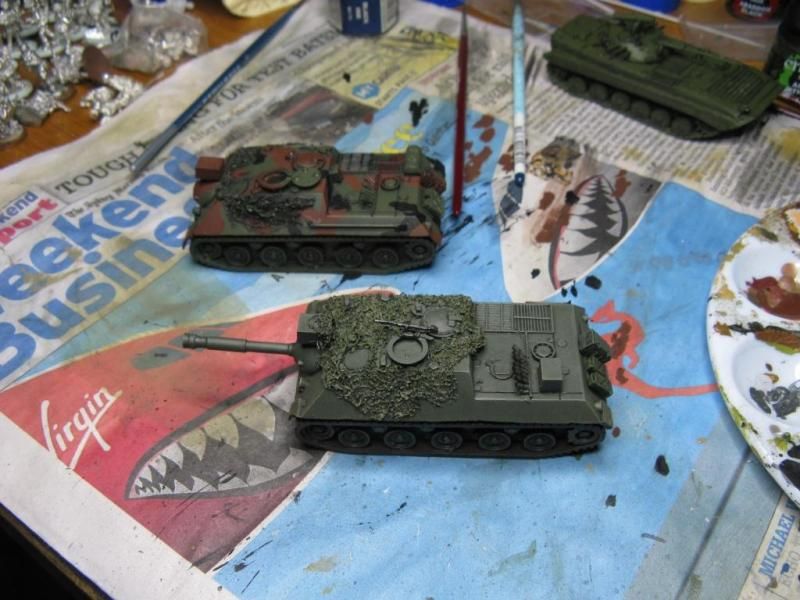
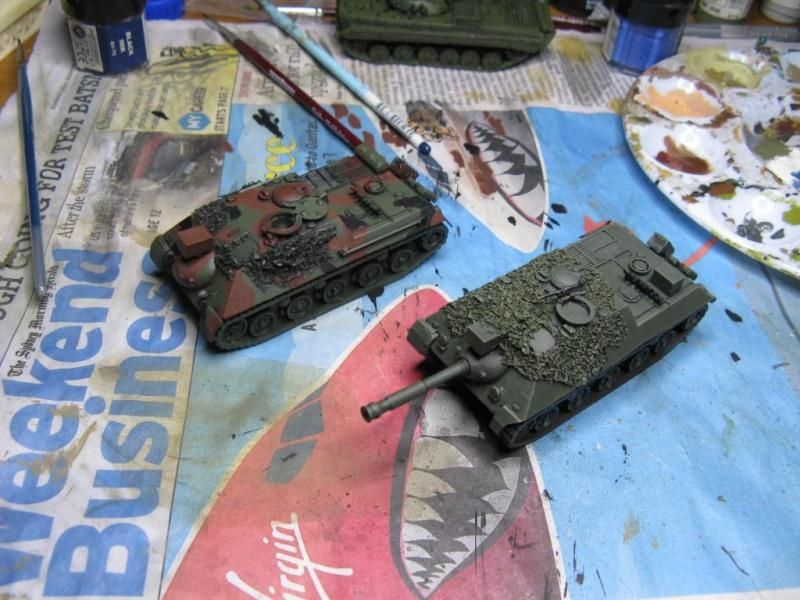
I'd say that the Jagdpanzer Kanone is about 95% done (just needs decals and final weathering) while the Beobachtungspanzer is about 50% done (it needs a lot more painting etc).
I managed to take a couple of quick photos last night:
You can see some other projects lurking in the background....
I've got about a week to finish these - so I'm reasonably confident they'll be done in time.
Thanks
Richard
I'd say that the Jagdpanzer Kanone is about 95% done (just needs decals and final weathering) while the Beobachtungspanzer is about 50% done (it needs a lot more painting etc).
I managed to take a couple of quick photos last night:
You can see some other projects lurking in the background....
I've got about a week to finish these - so I'm reasonably confident they'll be done in time.
Thanks
Richard
Selasa, 16 Oktober 2012
S&S Jagpanzer Kanone & Beobachtungspanzer W-I-P
A few weeks ago I managed to snag a couple of S&S Models Jagdpanzer Kanones from Simon - I never even knew he had them. I don't really know why - but they immediately had to jump straight to the top of my to-do-list. I decided I wanted to build one as a straight up and down Jagdpanzer Kanone, while the other I wanted to convert into a Beobachtungspanzer - or artillery obersvation tank.
To be honest the more I looked at them and then looked at some photos of the real deal, I realised that they would need a little bit of work in the "jazzing up" department. Neither had headlights, or other driving lights, the correct cupola ring on at least one of the hatches, the row of smoke dischargers, or boxes and jerry cans on the rear of the vehicle. There was also no tools on the side or rear deack either.
I had a massive sort through my various bits boxes, pulling out bits and peices that may have been useful. I also massacred an old crappy Leopard 2A4 and Luchs. I had to make the rows of smoke dischargers from scratch - and if you don't look to closely I'm quite happy with them.
Anyway - enough gasbagging - on with the photos - taken outside so finally some decent photos!
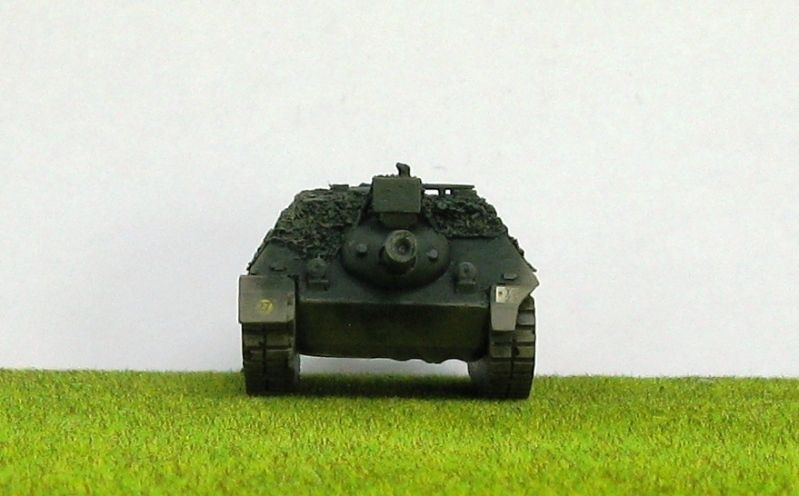
Jagpanzer Kanone
You can't really see, but one of the hatches is open and I have an AB Figures commander who stands nicely in it. This one won't get the cam net treatment, but will get a NATO three-tone cam scheme instead.
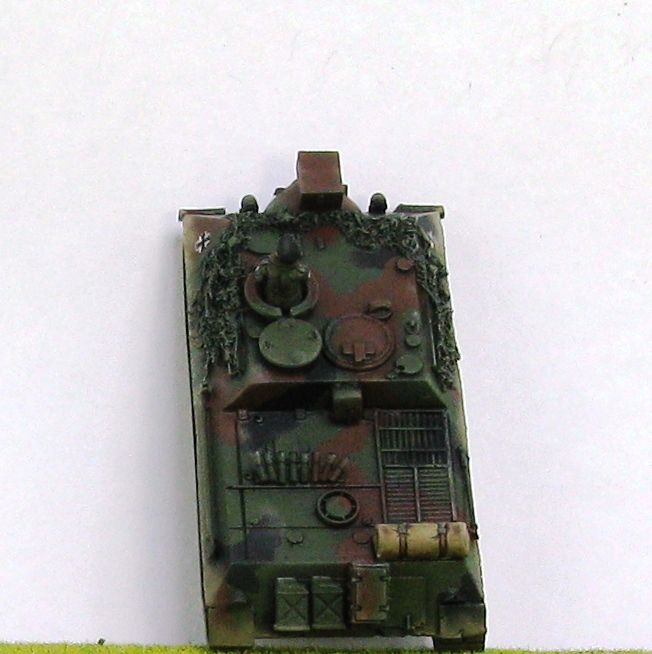
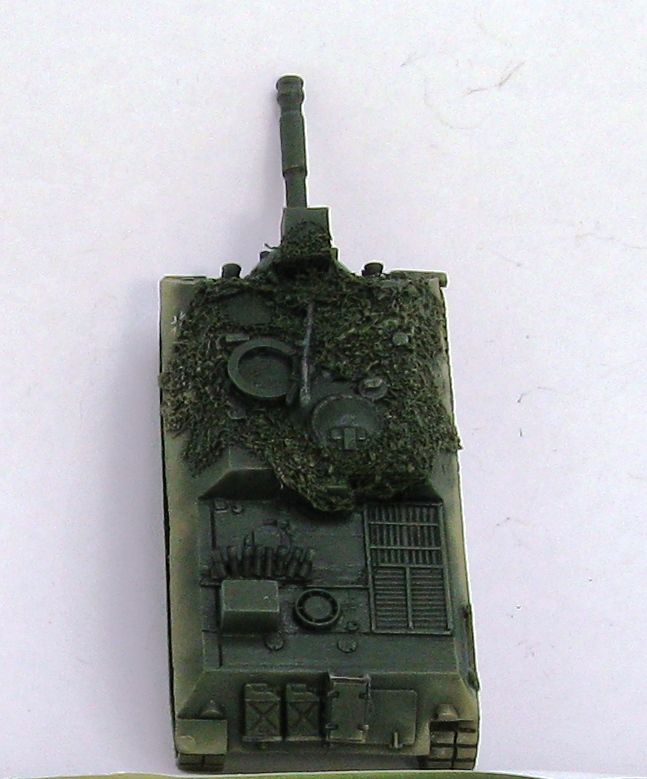
Finally - here is the two of them together from above
To be honest the more I looked at them and then looked at some photos of the real deal, I realised that they would need a little bit of work in the "jazzing up" department. Neither had headlights, or other driving lights, the correct cupola ring on at least one of the hatches, the row of smoke dischargers, or boxes and jerry cans on the rear of the vehicle. There was also no tools on the side or rear deack either.
I had a massive sort through my various bits boxes, pulling out bits and peices that may have been useful. I also massacred an old crappy Leopard 2A4 and Luchs. I had to make the rows of smoke dischargers from scratch - and if you don't look to closely I'm quite happy with them.
Anyway - enough gasbagging - on with the photos - taken outside so finally some decent photos!
Jagpanzer Kanone
Next step for this guy is a bucket load of netting - then he will get an Olive green paint job.
Beobachtungspanzer
You can't really see, but one of the hatches is open and I have an AB Figures commander who stands nicely in it. This one won't get the cam net treatment, but will get a NATO three-tone cam scheme instead.
Finally - here is the two of them together from above
Have fun
Richard
Kamis, 05 Juli 2012
S and S T-55 AVLB
Well this will be my last post for a few weeks as I'm going on holidays and doubt I'll have the chance or ability to post anything - may be - you never know.
Review and Build
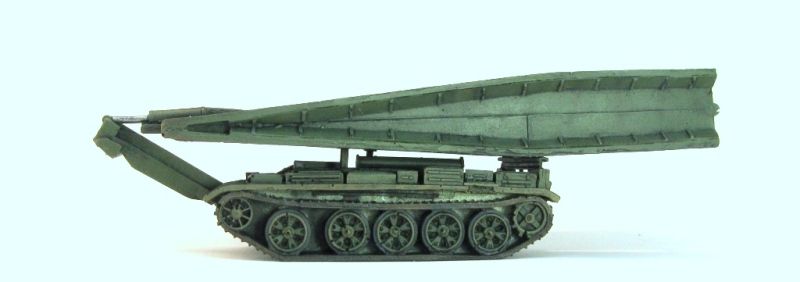
The S&S T-55 AVLB is one of their newer models and it shows. The resin is clean and near 100% few of bubbles or deformities. As always the metal is very crisp and clean. Not much claning was required on this model at all.
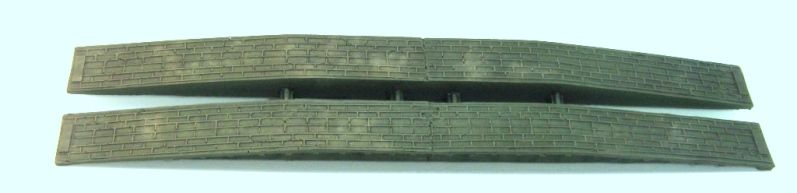
Everything I have to say about this kit is essentially positive. Not only do you get a great little T-55 AVLB with a folded bridge, but you also get a deployed bridge included. The bridge laying mechanism can be put together so you can have it on your tabletop driving to the river (withthe bridge on top of it) but once you reach the river and deploy the bridge, you can simply take off the folded bridge, lower the bridge laying mechanism and park the AVLB next to the bridge. Pretty cool in my opinion.
If anything left a little to be desired, its the instructions - which are fairly basic - but very, very useful no the less. After a bit of fiddling and working out how the photos in the instructions related to the model I had no real problems. Everything fit together very well and nothing had to be trimmed or anything like that.
I totally rate this kit and am very impressed with it.
Here's some photos of the S&S T-55 AVLB:
And the bridge:
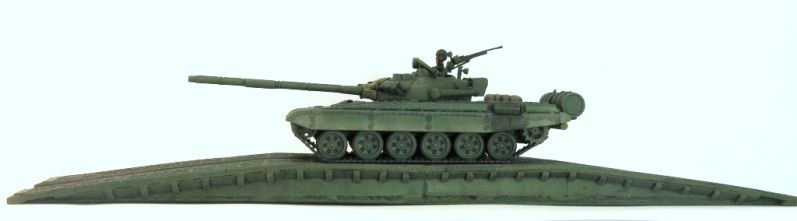
and finally the bridge with a T-72 crossing it:
That's it. See you ina few weeks and have fun...
Richard
Review and Build
The S&S T-55 AVLB is one of their newer models and it shows. The resin is clean and near 100% few of bubbles or deformities. As always the metal is very crisp and clean. Not much claning was required on this model at all.
Everything I have to say about this kit is essentially positive. Not only do you get a great little T-55 AVLB with a folded bridge, but you also get a deployed bridge included. The bridge laying mechanism can be put together so you can have it on your tabletop driving to the river (withthe bridge on top of it) but once you reach the river and deploy the bridge, you can simply take off the folded bridge, lower the bridge laying mechanism and park the AVLB next to the bridge. Pretty cool in my opinion.
If anything left a little to be desired, its the instructions - which are fairly basic - but very, very useful no the less. After a bit of fiddling and working out how the photos in the instructions related to the model I had no real problems. Everything fit together very well and nothing had to be trimmed or anything like that.
I totally rate this kit and am very impressed with it.
Here's some photos of the S&S T-55 AVLB:
And the bridge:
and finally the bridge with a T-72 crossing it:
That's it. See you ina few weeks and have fun...
Richard
Kamis, 28 Juni 2012
S and S FV512 Warrior MCRV
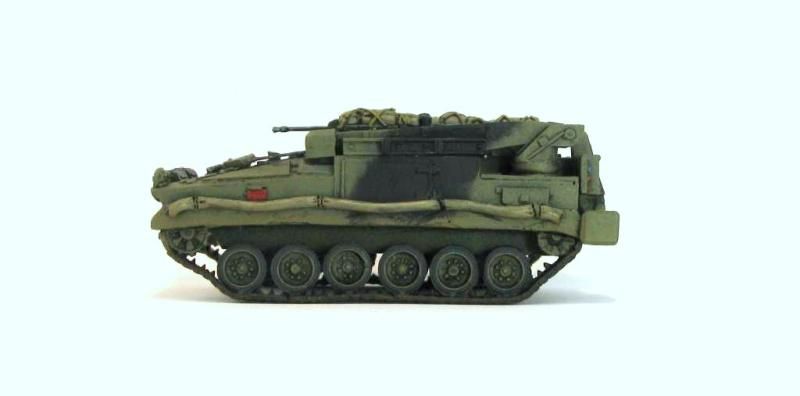
To complement my (reduced) Warrior MCV company I needed to get a Warrior Mechanised Combat Repair Vehicle - which would be attached to my HQ Section.
S&S models do a nice little Warrior ARV which fits the bill nicely - and is far as I'm aware the only one out there. Once again I got mine second hand, and it was missing the machinegun for the mini-turret, so I simply contacted Shaun who sent me one when I picked up my T-55 AVLB - for free. He's a very nice chap and provides excellent customer service.
Review - and build
I beleive the S&S Warrior ARV is one of their older models and in some ways it shows - especially when you compare it to their new moulds. Mine was a little worse for wear and I found it easier to cut off and replace all the vision blocks on the mini-turret rather than just try and fix them. There was also some damage along one side of the vehicle, one of the driving lights was wrecked and some rods along the front needed to be replaced.
Reference pics showed rolled up tarps or nets along the sides of the hull - so with my fairly weak green stuff skills I was able to add rolled tarps to each side to cover any damage. Again I attempted to use green stuff to fix up the driving light, and after I removed the rods along the front I completely forgot to replace them! Duh!
The tracks are metal and had to be manouvred a bit to fit properly - but I like them. A number of other metal peices come with the kit and but looking at online photos it was relatively easy to work out where they go.
The crane (another metal bit - well about 3 bits actually) can be portrayed resting (?) or raised. The winch head (again ? - my crane knowledge is obviously quite bad!) is designed to show the crane in use, so I cut of the wires and attached new ones to try and match pictures I had with the winch head secured to the hull.
So - overall I think this is a very sexy little kit - an excellent wargaming model. Apart from being the only one out there - it produces a lovely looking Warrior MCRV (in my opinion) - which will add some nice variety to a Warrior Company.
Here's some pics of mine:
From the front - you can see where I forgot to reattach some rods, the reconstructed light of the right, the new vision blocks on the turret and the tarp along the side. You can also see the front of the crane and the winch head resting on the hull.
The left hand side - which provides a great view of the crane and the support that gets lowered to the ground at the read of the vehicle.
The right hand side - showing all the cool storgae areas, and a better view of the turret.
The read view - showing the system that is lowered to the ground when the crane is in operation.
Rear top view
Front top view
And finally a comparison rear top view (sorry about the lean...) of the S&S Warrior ARV beside a Revell Warrior MCV.
That's all for now - couldn't find any videos...
Have fun...
Richard
S&S models do a nice little Warrior ARV which fits the bill nicely - and is far as I'm aware the only one out there. Once again I got mine second hand, and it was missing the machinegun for the mini-turret, so I simply contacted Shaun who sent me one when I picked up my T-55 AVLB - for free. He's a very nice chap and provides excellent customer service.
Review - and build
I beleive the S&S Warrior ARV is one of their older models and in some ways it shows - especially when you compare it to their new moulds. Mine was a little worse for wear and I found it easier to cut off and replace all the vision blocks on the mini-turret rather than just try and fix them. There was also some damage along one side of the vehicle, one of the driving lights was wrecked and some rods along the front needed to be replaced.
Reference pics showed rolled up tarps or nets along the sides of the hull - so with my fairly weak green stuff skills I was able to add rolled tarps to each side to cover any damage. Again I attempted to use green stuff to fix up the driving light, and after I removed the rods along the front I completely forgot to replace them! Duh!
The tracks are metal and had to be manouvred a bit to fit properly - but I like them. A number of other metal peices come with the kit and but looking at online photos it was relatively easy to work out where they go.
The crane (another metal bit - well about 3 bits actually) can be portrayed resting (?) or raised. The winch head (again ? - my crane knowledge is obviously quite bad!) is designed to show the crane in use, so I cut of the wires and attached new ones to try and match pictures I had with the winch head secured to the hull.
So - overall I think this is a very sexy little kit - an excellent wargaming model. Apart from being the only one out there - it produces a lovely looking Warrior MCRV (in my opinion) - which will add some nice variety to a Warrior Company.
Here's some pics of mine:
From the front - you can see where I forgot to reattach some rods, the reconstructed light of the right, the new vision blocks on the turret and the tarp along the side. You can also see the front of the crane and the winch head resting on the hull.
The left hand side - which provides a great view of the crane and the support that gets lowered to the ground at the read of the vehicle.
The right hand side - showing all the cool storgae areas, and a better view of the turret.
The read view - showing the system that is lowered to the ground when the crane is in operation.
Rear top view
Front top view
And finally a comparison rear top view (sorry about the lean...) of the S&S Warrior ARV beside a Revell Warrior MCV.
That's all for now - couldn't find any videos...
Have fun...
Richard
Langganan:
Postingan (Atom)