So in the lead up to last weeks game, I came close to completing a bunch of BAOR vehicles. These have now been finished and first up I'd like to go with the Britannia FV432 Armoured Personnel Carriers.
Here's some info from wikipedia on the FV432
Review
The Britannia FV432 is a very nice little model. It is a solid resin kit, with some metal peices, like a command figure, and hatch covers. You can make it, with the commander's hatch open or closed - which is something I like. You can get a couple of variants - the base APC and a FV432 with an open rear hatch. This can come with either 2 infantry men who are "standing" in the open hatch, a 81mm mortar and 2 crew, or a wombat recoilless rifle and 2 crew. All these figures are half figures and are very nicely styled and molded.
On the negative side, it does come with some air holes - which I didn't pay to much attention to on these vehicles - which I now regret - but these can be easily fixed. The other negative I have is that the driver's hatch is molded open with the driver's neck and head sticking out. I know I bang on about this all the time.... yawn.... but I would much prefer this to be optional. It's just me... Having said that - the driver is a nice little representation anyway.
Painting
These have been painted in what has become my British Army standard:
1. Undercoat - Citadel Chaos Black Spray
2. Base Coat - FoW War paint - British Armour
3. Squiggly Black Lines - Citadel Chaos Black
4. Black Wash - Citadel Babab Black - pretty liberally splashed on...
5. Drybrush - Vallejo Russian Uniform (Just the Green areas)
6. Drybrush - Vallejo Russian Uniform & Vallejo Khaki - adding more and more Khaki - eventually going over the black areas as well.
7. Paint the tracks the standard way I do...
8. Drybrush Vallejo Flat Earth or something similar over the tracks and lower parts of the AFV to represent dirt.
9. Paint lights etc.
All done
No decals at this point as I don't really own any good enough to suit. Eventually I'll try and get some from B W Models
Lastly - I had a not particularly cunning plan... I decided to make little bases - I'll call them sabots (coz it sounds cooler) to fit into the open topped FV432 so I could make them multi-use. I think they cam out quite well.
Onto the pictures:
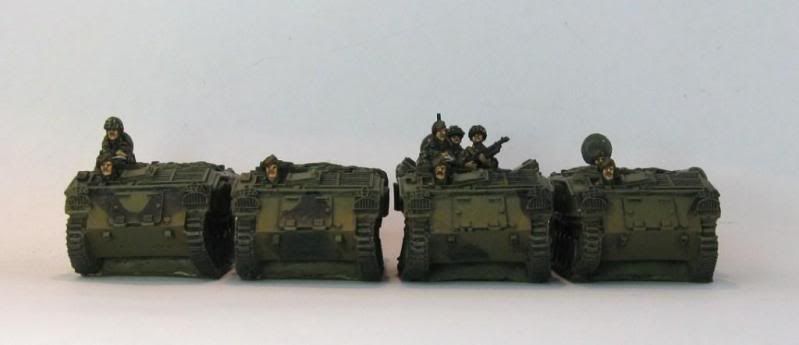
Front view - all the painted FV432s
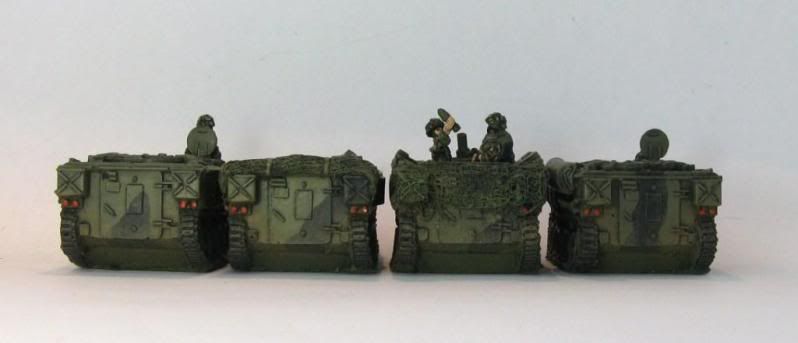
Rear view
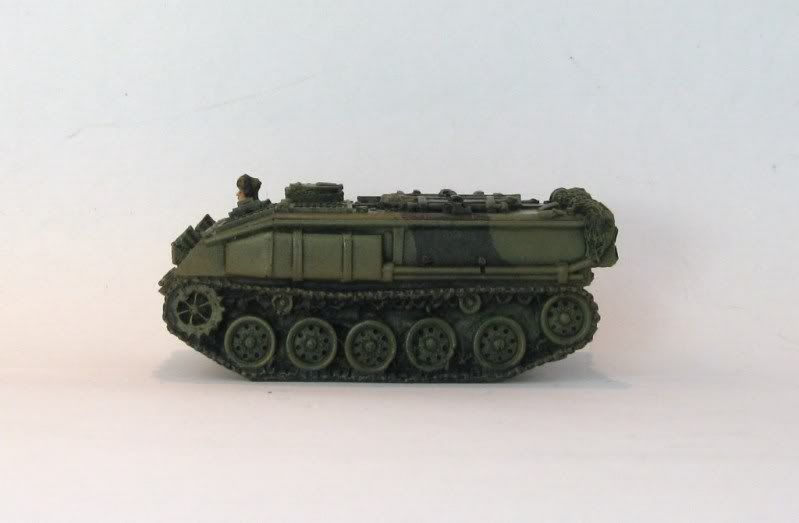
Side shot of a bog standard FV432
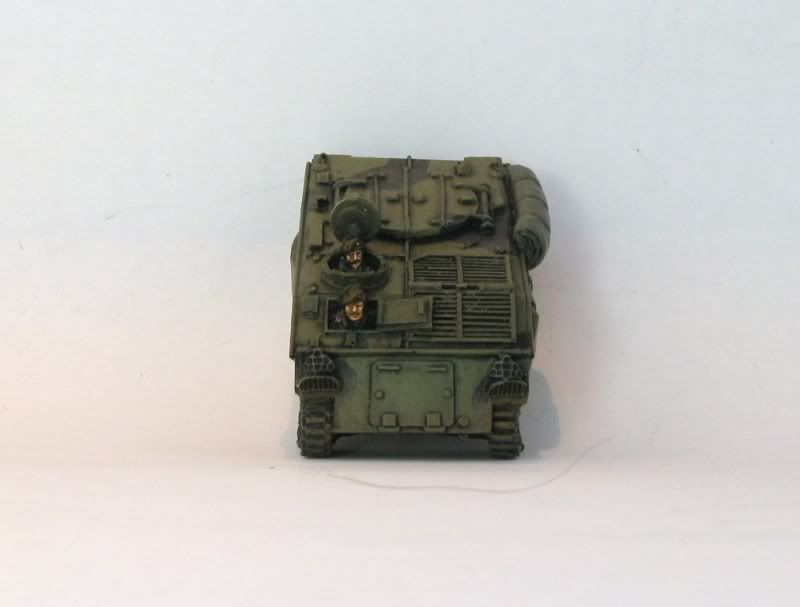
Top view of another FV432
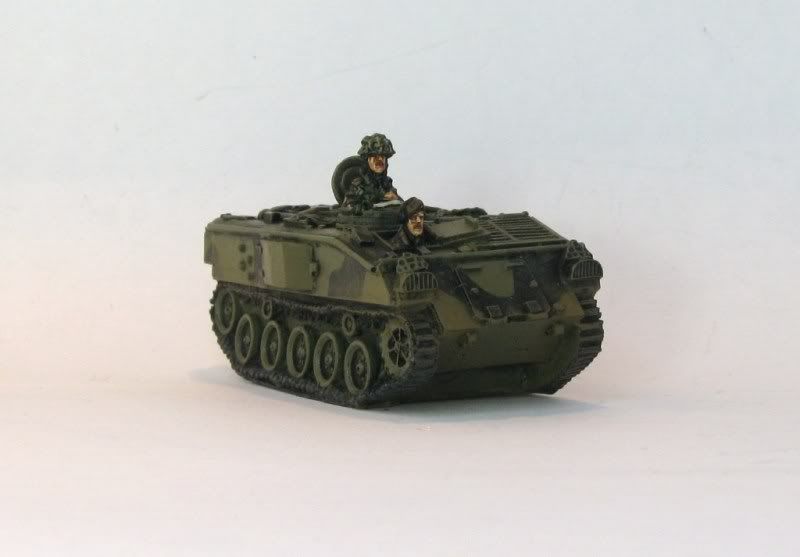
Front angled shot of yet another FV432
Now onto the open topped one
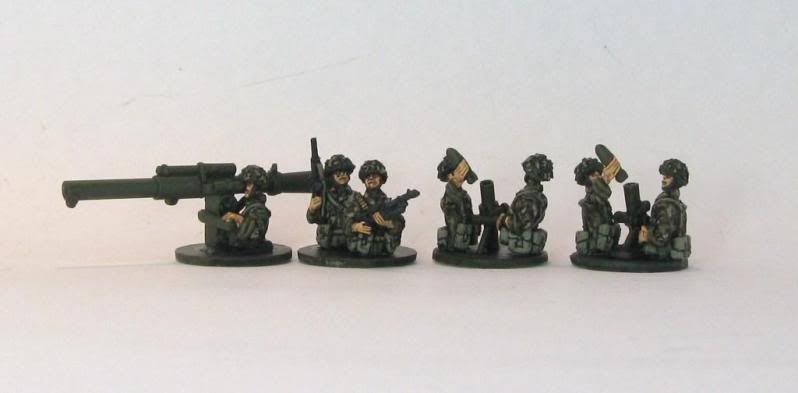
This are the sabot bases
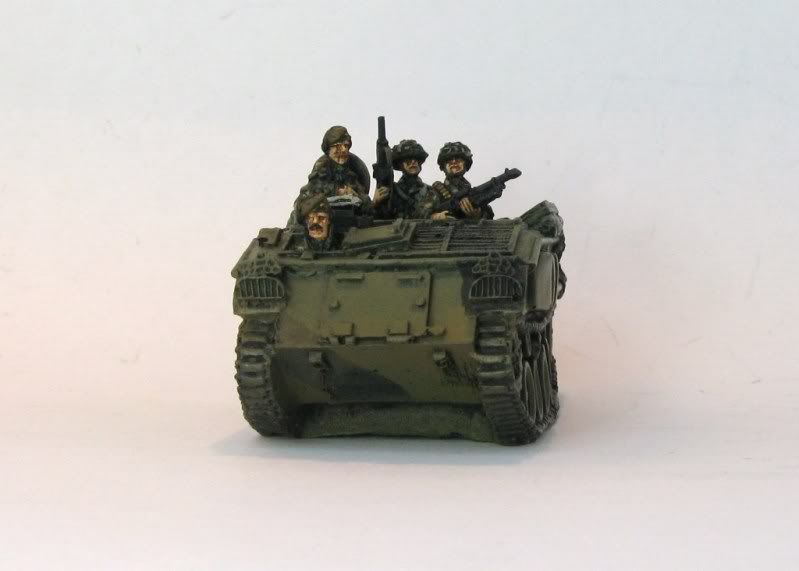
Front view with infantry
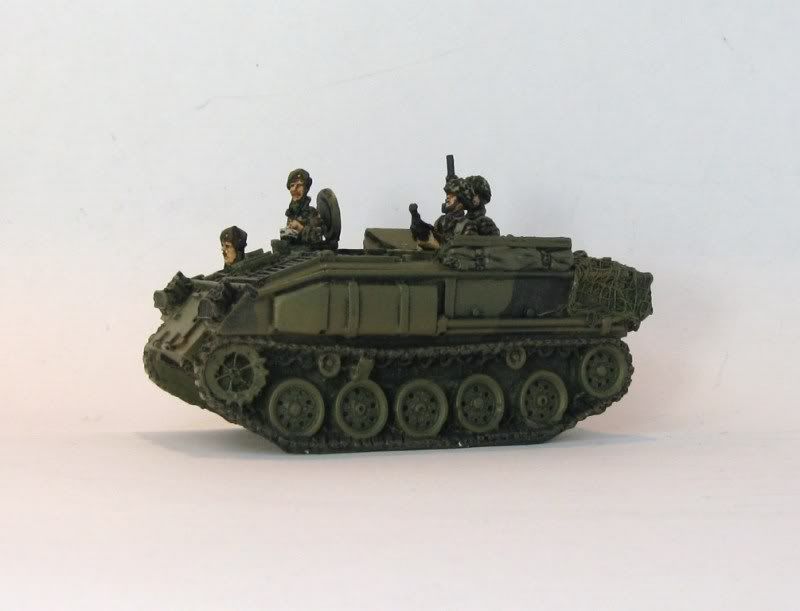
Side view with infantry
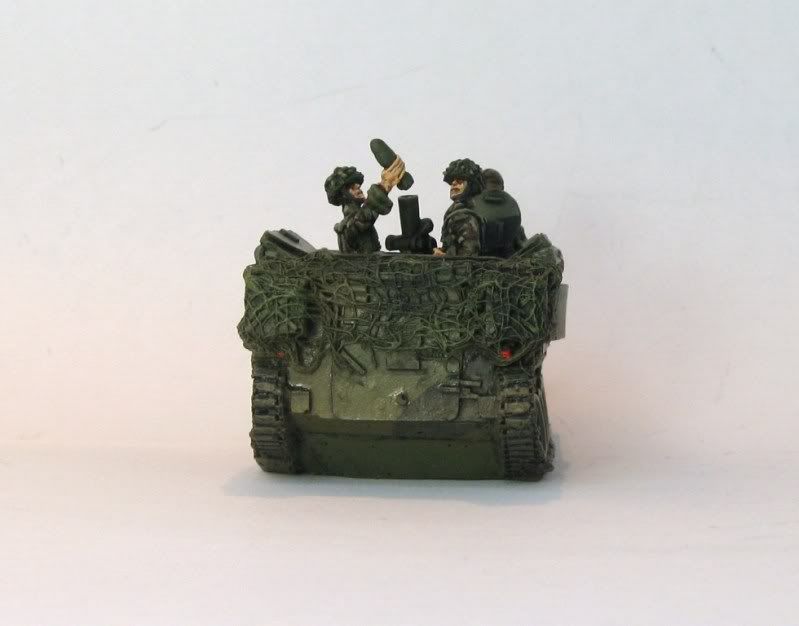
Rear view with mortar
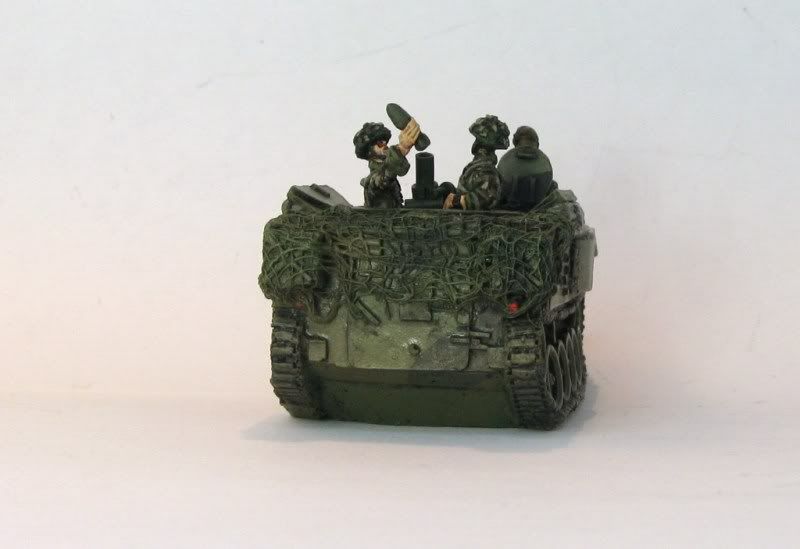
Rear view with the other mortar (I actually made this mortar and was pretty chuffed with how it came out)
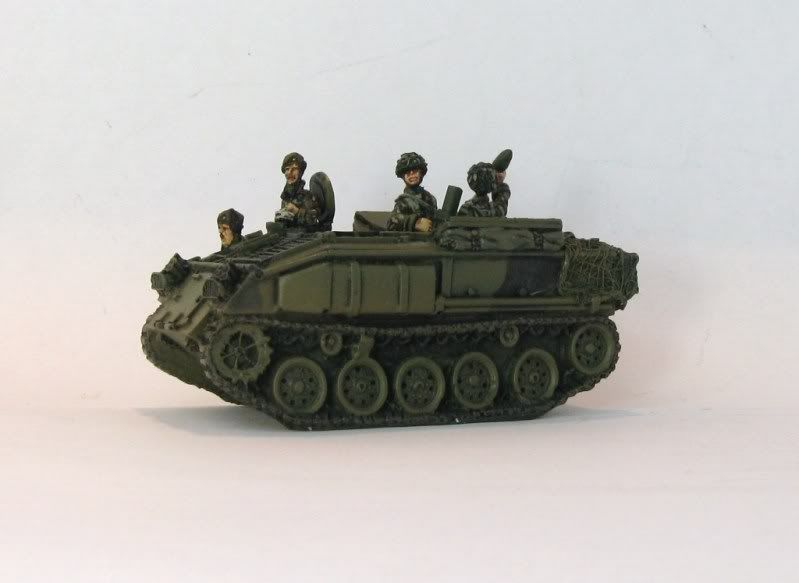
Side view with mortar
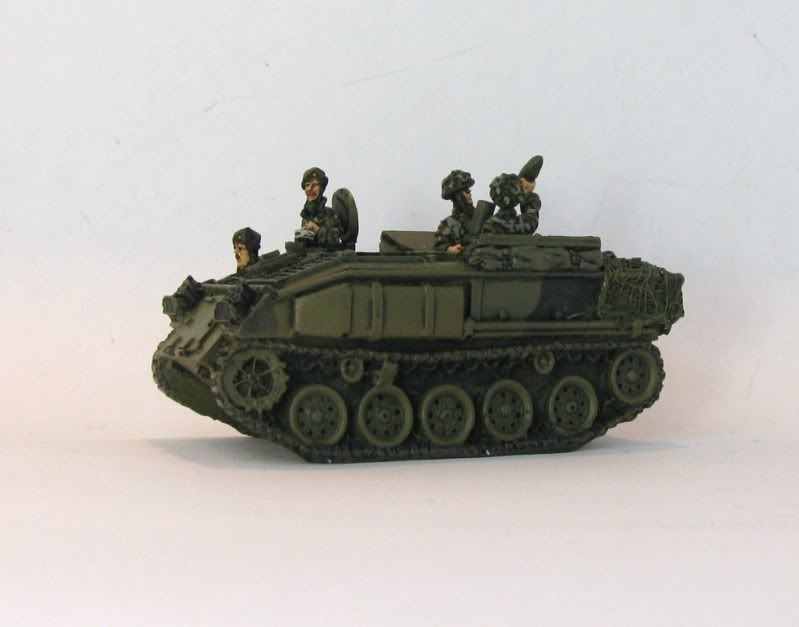
Side view with other mortar
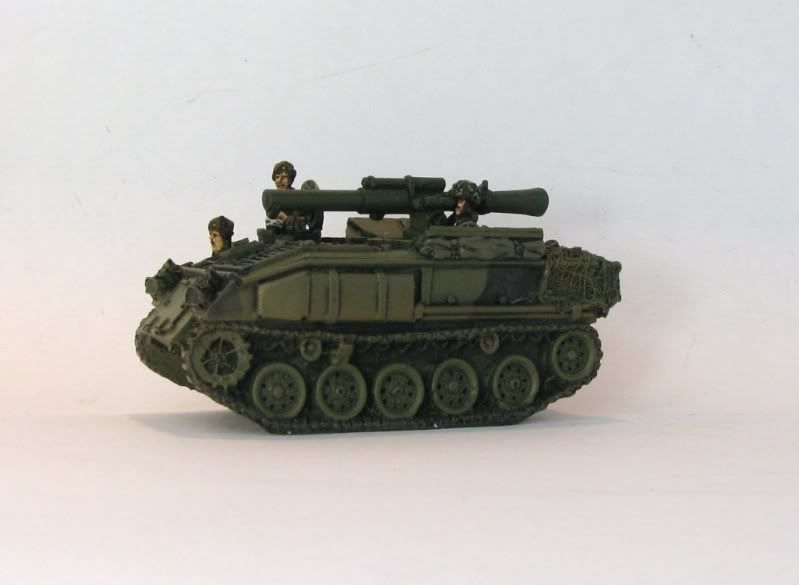
Side view with wombat
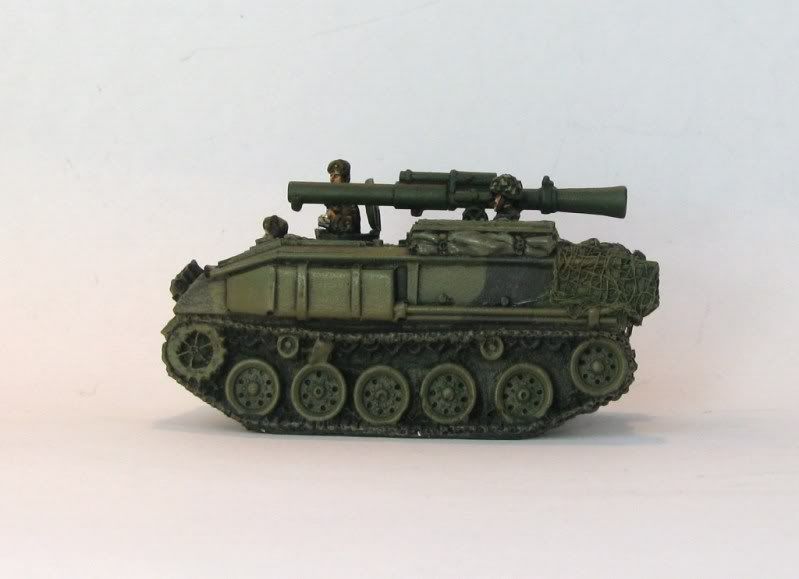
Slightly different side view with wombat.
Obviously all this finally umpteen pics are of exactly the same open topped FV432. I have 2 other unpainted open topped FV432 to do and another standard APC variant to paint.
Now a couple of youtube clips to keep you entertained
The obligatory car crushing clip
More like my colour scheme
Demo
A detailed look
That's all for now - have fun
Richard
Tidak ada komentar:
Posting Komentar